School administration guide
How Schools Can Prepare Fee Payment Receipt Data in Excel
Consistent receipts begin with an authorised payment record. This guide shows how to turn reviewed student and payment details into a spreadsheet that can supply a reusable receipt template.
View the Fee Payment Receipt Generator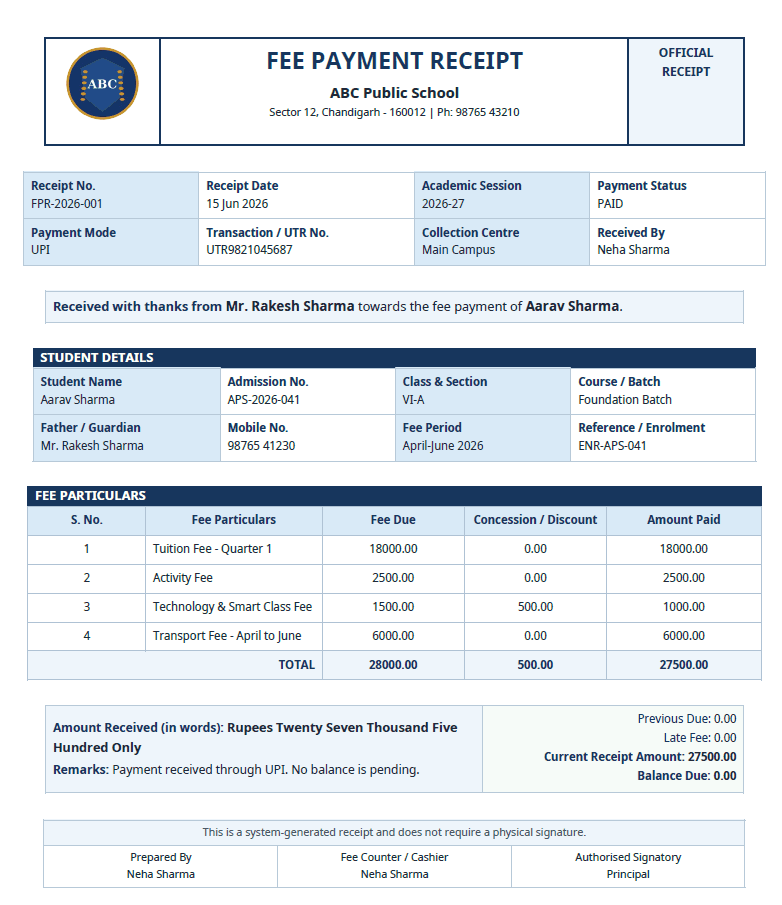
Begin with an authorised payment record
A spreadsheet prepared for receipt generation should be an output of the school’s payment-record process. Confirm the transaction using the institution’s approved source before a row is marked paid or assigned a receipt number.
Establish who can approve a record and who can prepare the document batch. A simple separation between verification and document production reduces the chance that an unconfirmed or duplicated record becomes an official-looking receipt.
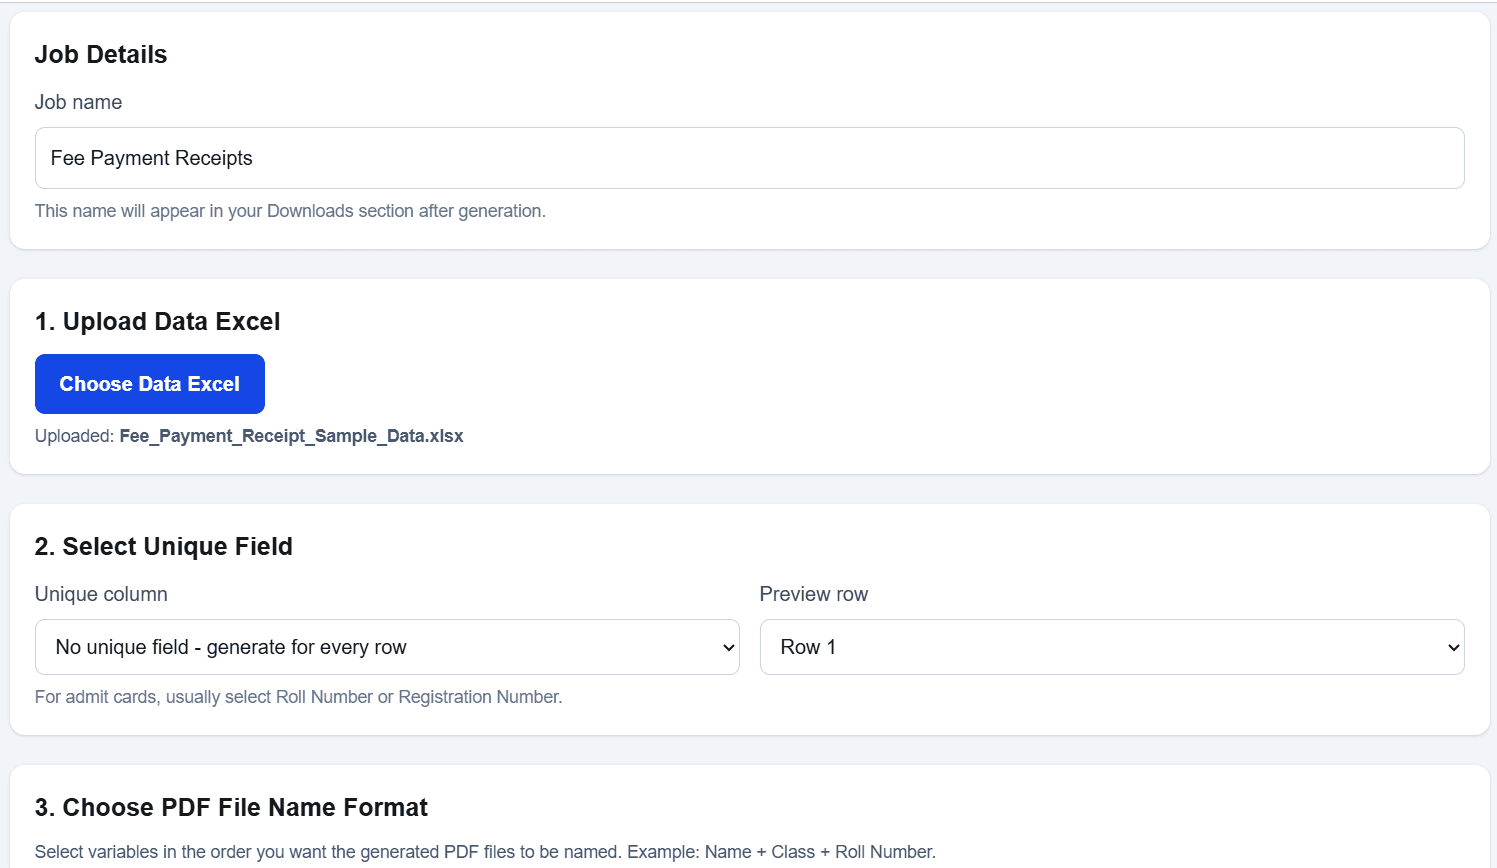
Prepare one complete receipt record per row
Combine the verified transaction with the student and fee-period context needed by the recipient. Use both a receipt number and a stable student identifier. Avoid relying on a student name alone, particularly when several classes or branches share a workbook.
Receipt_NoReceipt_DateAcademic_SessionStudent_IDStudent_NameClass_SectionParent_NameFee_PeriodPayment_ModePayment_ReferenceFee_DueConcessionPrevious_DueLate_FeeAmount_PaidBalance_DueReceived_By
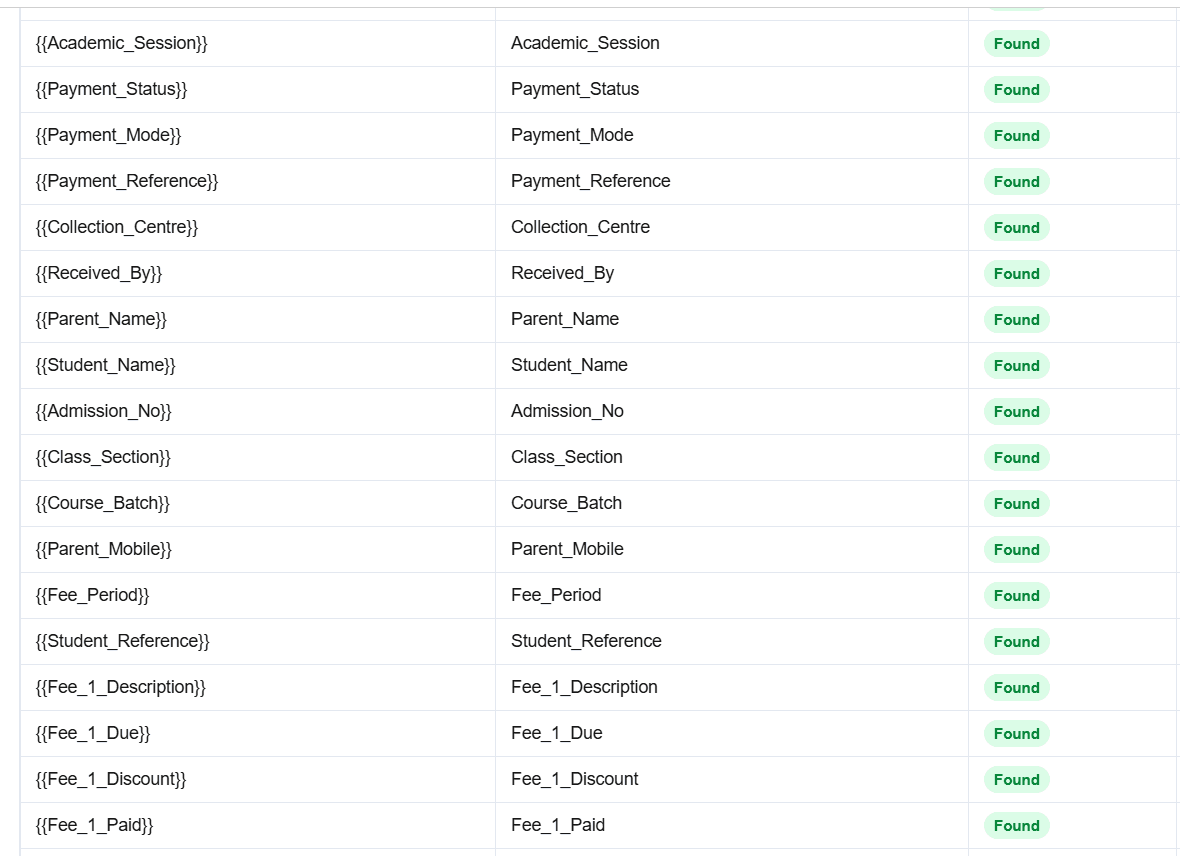
Map receipt variables without changing their meaning
Keep the source heading and template variable aligned. A field called Amount_Paid should not be placed under a label that implies total fees due. Likewise, distinguish the transaction reference from the receipt number: they serve different administrative purposes.
{{Receipt_No}}Institutional receipt reference
{{Student_Name}}Recipient student
{{Fee_Period}}Period covered by the receipt
{{Payment_Mode}}Verified payment mode
{{Amount_Paid}}Verified amount received
{{Balance_Due}}Prepared remaining balance
A practical school receipt workflow
1. Confirm the transaction
Use the school’s authorised payment record to confirm amount, date, mode and reference.
2. Assign and review the receipt number
Follow the institution’s numbering process and check for duplicates before generating documents.
3. Join the student context
Add the correct student ID, name, class, fee period and parent or guardian details required by the receipt.
4. Prepare balance fields
Calculate and approve fee due, concessions, previous dues, late fees and balance outside DataToPDF.
5. Match the receipt template
Compare every variable with its source column and ensure fixed school details are current.
6. Preview, generate and distribute
Review ordinary and exceptional records, generate the PDFs, and distribute them using the school’s approved process.
Receipt verification checklist
✓ Receipt number is present, unique and approved.
✓ Payment date matches the authorised record.
✓ Student ID, name, class and fee period belong together.
✓ Amount paid and payment mode were verified before export.
✓ Transaction reference is included only when appropriate.
✓ Concession, previous due, late fee and balance were reviewed.
✓ School, branch and contact details are current.
✓ A preview has been checked by the responsible person.
Worked example: a term-fee receipt record
Consider a student whose authorised payment record covers tuition and activity fees for a term. The institution has already confirmed the payment date, mode, reference and amount. It has also approved any concession, previous due, late fee and resulting balance. Receipt preparation begins after those decisions are complete.
Create the row using the approved receipt number and student identifier. Add the student name, class and fee period from the correct student record. Place tuition and activity particulars in distinct fields if the template itemises them. Store fee due, concession, amount paid and balance under separate headings so none of these figures is presented as another.
Before upload, compare the row against both the authorised payment entry and the relevant student record. This two-source check is important: a transaction can have the correct amount but still be associated with the wrong student or period. A PDF preview cannot determine whether that association is valid.
In the preview, review the receipt number and date first, student details second, payment reference third, and the fee table and balance last. Also test a record with a concession or previous due, because those fields can expose label or placement mistakes that a simple fully paid record will not.
Plan review and distribution responsibilities
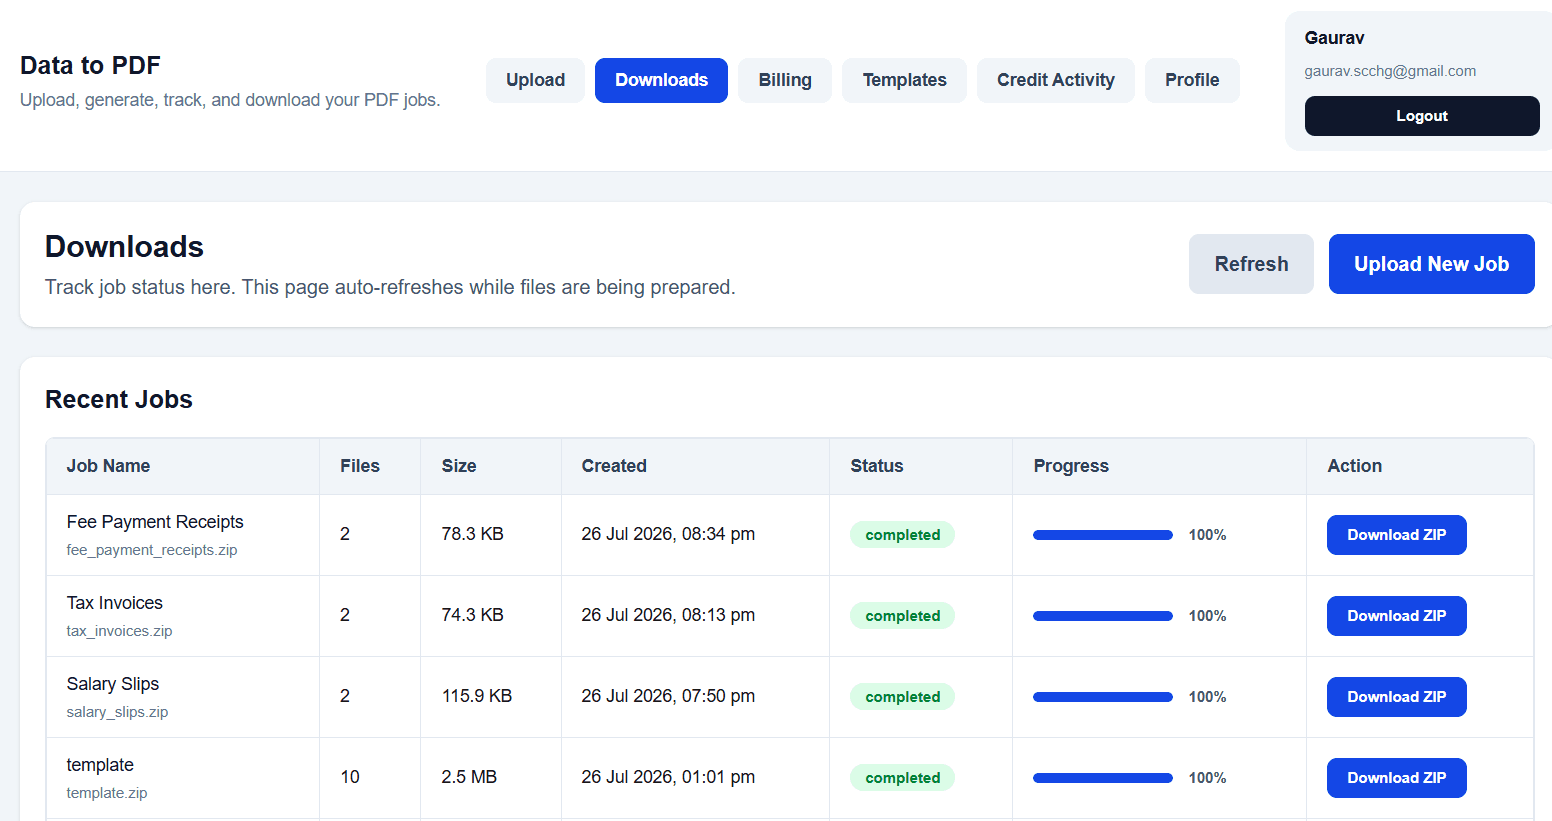
Define who may approve payment data, who may generate the documents and who may distribute them. Keep test sheets fictional and limit the production export to required fields. Receipt PDFs can contain personal and financial information, so filenames, storage locations and delivery channels should follow the institution’s policy. If a receipt needs correction, return to the authorised record and follow the school’s correction process before generating a replacement.
Common receipt-preparation mistakes
Generating from a provisional list: wait until payments have been verified through the institution’s responsible process.
Reusing a receipt number: check numbering centrally before producing the batch.
Confusing fee due with amount paid: store and label the fields separately so the document does not misstate the transaction.
Pairing the wrong student with a payment: use a student or admission identifier and compare it with the authorised record.
Printing unnecessary personal data: limit the template to information needed for the receipt and follow the institution’s data-handling policy.
Troubleshooting a fee receipt batch
- The receipt number is missing.
- Check the heading-variable match and confirm that the row contains the approved number.
- A student is shown in the wrong class.
- Return to the prepared record and validate the student ID against the school source before regenerating.
- The fee table exceeds the page.
- Test the longest realistic particulars and adjust the template layout without hiding meaningful lines.
- The balance is questioned.
- Review it in the responsible fee-record process. DataToPDF does not verify or reconcile the balance.
When this method may not be suitable
This method does not replace a payment gateway, school ERP, accounting ledger, reconciliation process or parent portal. Use the appropriate system when you need to collect payments, verify transactions, update ledgers, manage student balances dynamically or provide live account statements.
Practical uses
- Term-fee receipts after authorised payment review
- Coaching-centre instalment receipts
- Training-programme payment acknowledgements
- Branch-specific receipts using a standard layout
- Replacement copies from an approved historical record
Fee receipt preparation FAQs
Does DataToPDF confirm whether a fee payment was received?
No. Your school or institute must verify the payment through its own authorised records before upload. DataToPDF generates receipt PDFs from the prepared values you provide.
What is the safest way to identify each receipt row?
Use a unique receipt number and retain a student or admission identifier. Review both before generation so similarly named students are not confused.
Can one spreadsheet include different payment modes?
Yes. A payment-mode column can contain the verified value for each record, such as cash, bank transfer or another mode used by your institution.
Should a balance be calculated in the receipt template?
No. Calculate and verify any previous due, concession, amount paid and balance in the responsible school process before upload, then provide the final values to the template.
Can coaching centres use the same preparation method?
Yes. The approach can suit coaching centres, tuition programmes and training institutes when they maintain verified payment records and use a consistent receipt layout.
Related resources
Create receipt documents from reviewed school records
After the responsible team has confirmed the transaction and student details, use the prepared spreadsheet and receipt template to produce consistent PDF documents.